Installing WireGuard VPN on Windows

Step 1: WireGuard download the Wireguard Windows installer

Step 2: Run the installation file and the installation should automatically complete

Step 3: Once the WireGuard client opens upon installation, you'll need to add tunnels to start using WireGuard.
💡
What are tunnels?
They are used to create a virtual network interface that you can use to route traffic between two endpoints. When you configure both endpoints, you establish a connection.
They are used to create a virtual network interface that you can use to route traffic between two endpoints. When you configure both endpoints, you establish a connection.
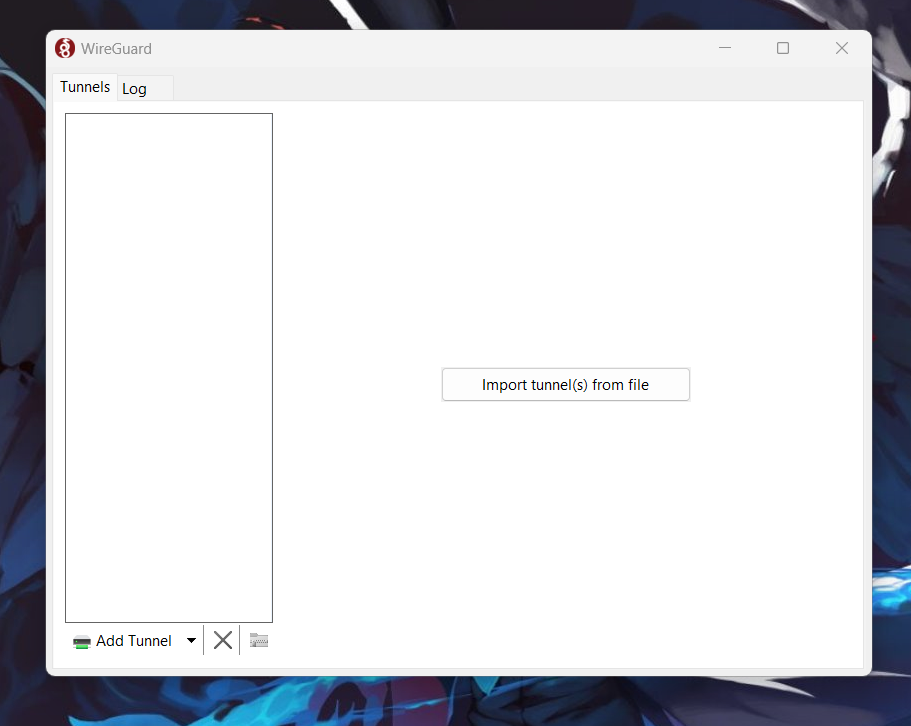
There are two ways you can approach this:
- Importing a tunnel file
- Create a tunnel manually
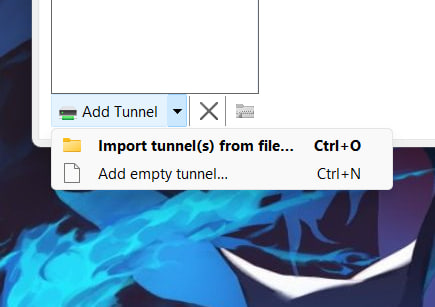
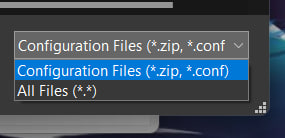
Import a tunnel: You can import a tunnel file in the format of .zip or .conf
Create a tunnel manually: Here you start from scratch and enter the configuration you would like to have for your tunnel

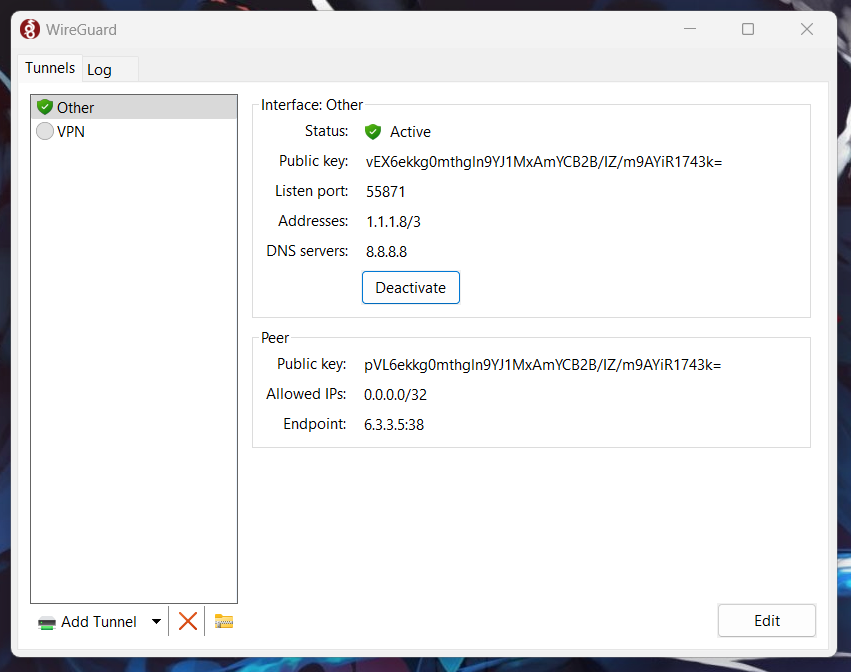
Step 4: Make sure to enter the tunnel information in the format below:
[Interface]
PrivateKey =
Address =
DNS =

[Peer]
PublicKey =
AllowedIPs =
Endpoint =
Feel free to add more information if needed to your tunnel then click Save
Step 5: Now, click "Activate" to enable your VPN.
Congratulations! You've now successfully installed and configured your WireGuard VPN on Windows.