Installing ERPNext on macOS

We've written previously about installing the Docker container of ERPNext, but sometimes we don't want to rely on Docker, especially with macOS's Docker performance issues. This guide will walk you through installing ERPNext on a macOS 10.13 (High Sierra) computer.
This guide follows this guide by Dominik Ottenbreit pretty closely, but I've included screenshots to help you along. This works best on a clean install of macOS FYI and you'll need Administrative rights. It should take about 30 minutes give or take.
Start with the Prerequisites
We need to grab some packages required for Git etc to work, you might already have some of these, but it's always good to check. You'll need to be comfortable using Terminal, as there isn't a pretty drag-n-drop install for ERPNext, yet. Open terminal by pressing CMD + SPACE and typing Terminal.
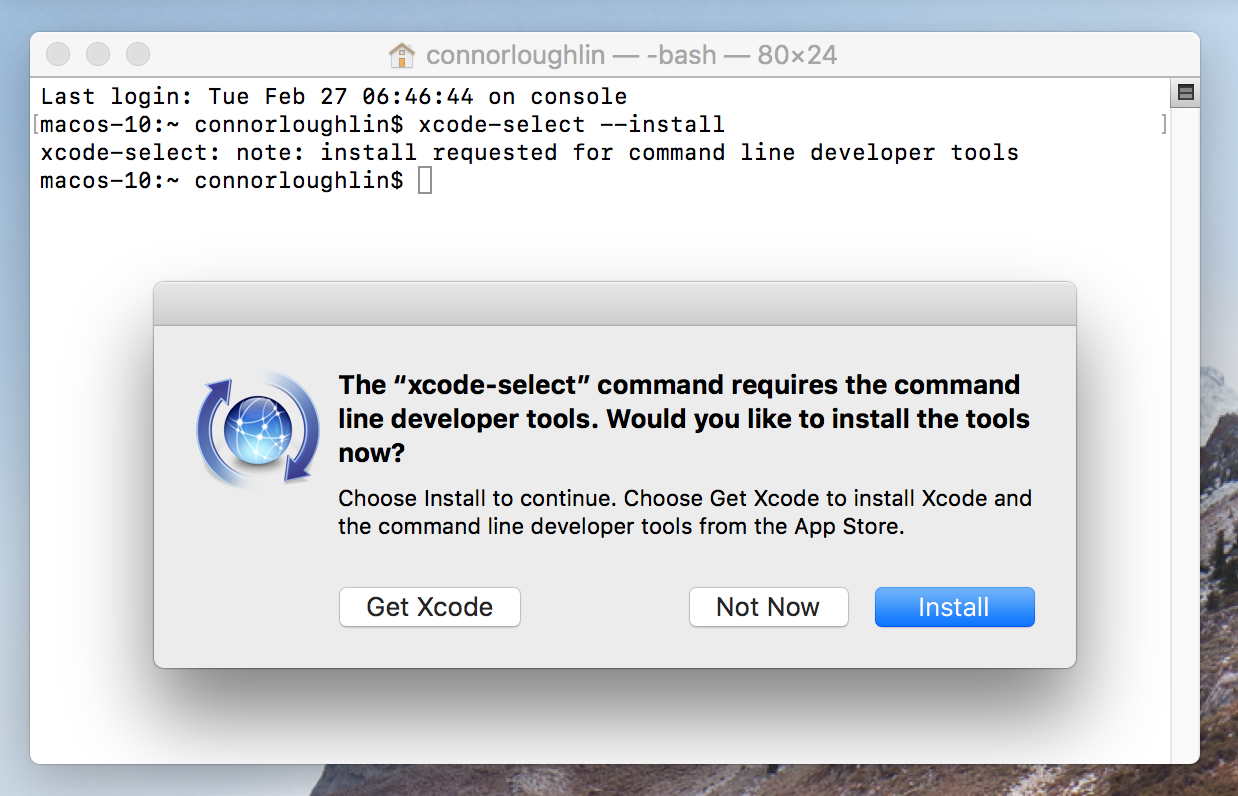
XCode Tools
You don't need the full 5GB install of XCode, instead just download the 'command line tools'.
xcode-select --install
You'll be prompted to download the software, as well as agree to some T&Cs. On a 50mb connection, the process should take about 5 mins.
Homebrew
Copy and Paste this into your terminal:
/usr/bin/ruby -e "$(curl -fsSL https://raw.githubusercontent.com/Homebrew/install/master/install)"
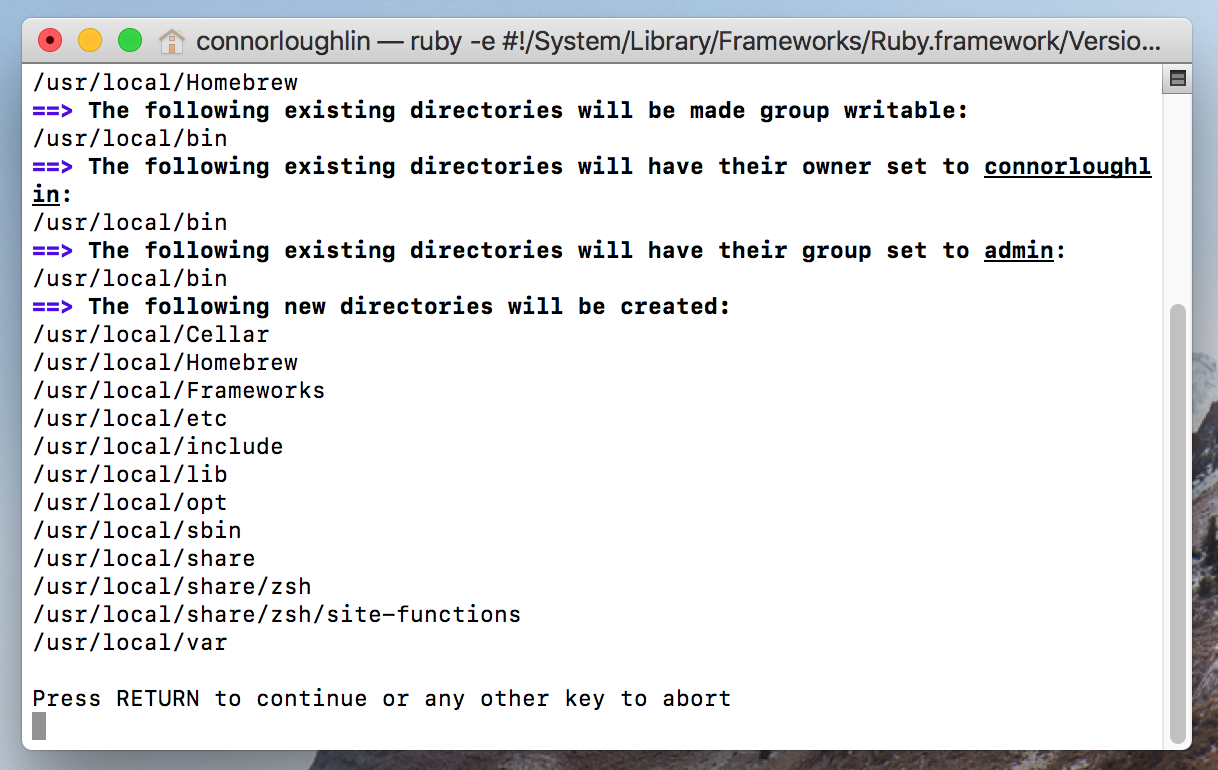
Hit the Enter key to confirm, then enter your password when requested.
Homebrew Cask
brew tap caskroom/cask
Cask allows you to easily install apps using Homebrew
Python
brew install python
You'll need to change terminal's default Python to the one you've just installed, do this by running this command:
export PATH="/usr/local/opt/python/libexec/bin:$PATH"
Git, Node.JS, Redis, MariaDB & others
brew install git
brew install node
brew install redis
brew services start redis
brew install mariadb
brew services start mariadb
You'll need to run mysql_secure_installation to create a secure password, otherwise you'll run into problems.
When asked for the current password for root, just hit the Enter key, then Y when asked to set a root password and enter a new root password. You'll want to go ahead and remove the anonymous users, disallow root login remotely, test database and finally reload the privilege tables.
brew cask install Caskroom/cask/wkhtmltopdf
pip install virtualenvwrapper
pip install --upgrade pip
npm install -g yarn
Finally, clean up brew and brew cask.
brew cleanup --force
brew cask cleanup
Setting up Frappe Bench
First, we need to clone the Bench Repo from GitHub to your local machine, I've made a folder called 'Development' in my home directory, from terminal make this folder then navigate to it:
cd ~
mkdir Development
cd Development/
git clone https://github.com/frappe/bench bench-repo
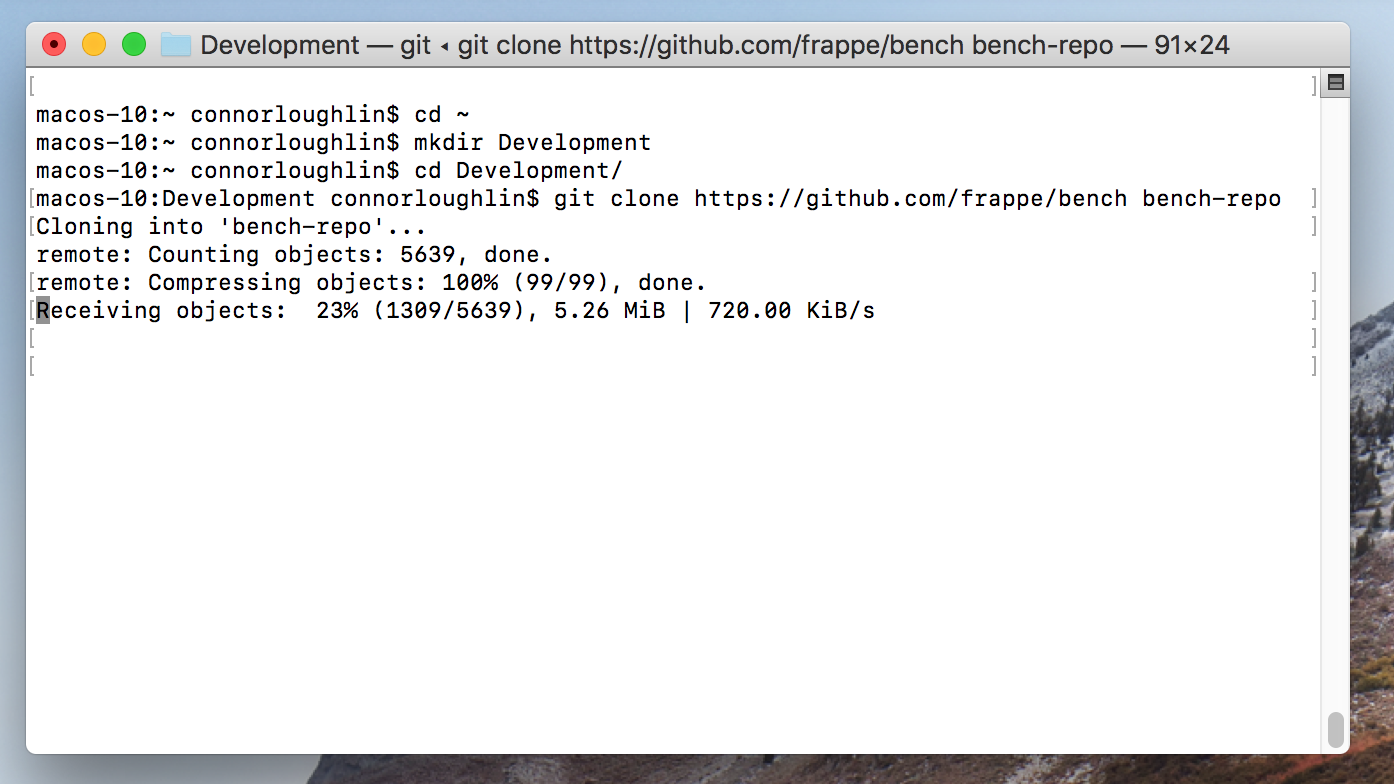
This may take a little while depending on your connection speed. Once that's cloned, you should see a folder called bench-repo within your Development folder, now install it by running:
pip install -e bench-repo
bench init frappe-bench
This again may take a few minutes, next navigate to the frappe-bench directory and then execute:
cd frappe-bench
bench get-app erpnext https://github.com/frappe/erpnext.git
This will download the ERPNext application for Frappe.
Now open my.cnf using Nano and add the following configuration:
sudo nano /usr/local/etc/my.cnf
[mysqld]
innodb-file-format=barracuda
innodb-file-per-table=1
innodb-large-prefix=1
character-set-client-handshake = FALSE
character-set-server = utf8mb4
collation-server = utf8mb4_unicode_ci

[mysql]
default-character-set = utf8mb4
Now run:
mysql.server start
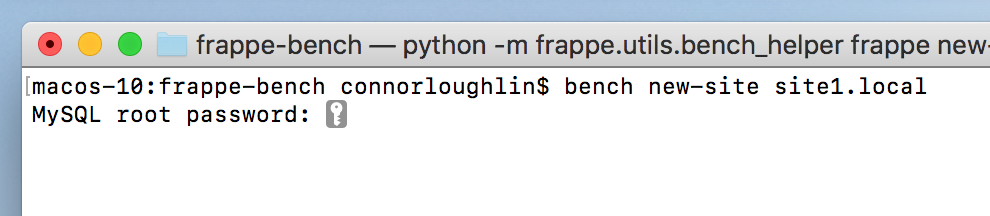
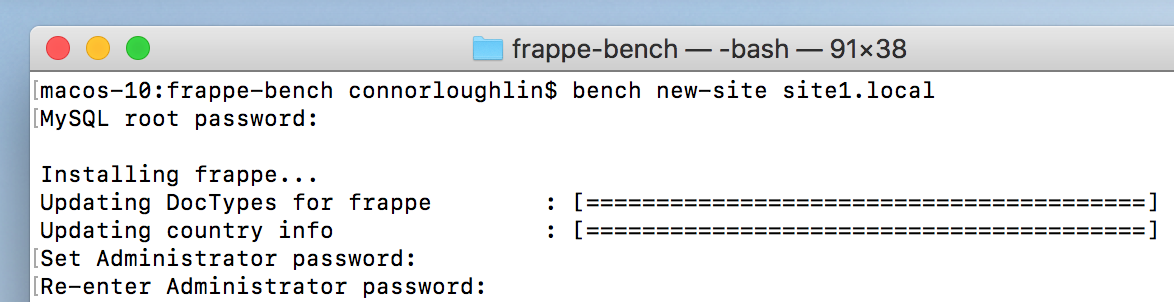
bench new-site site1.local
You'll be asked to enter your MySQL root password, this is the password you set earlier.
You'll then be asked to set and Administrator password for ERPNext, don't forget this! Enter it twice to confirm.
After this has finished, run:
bench install-app erpnext
This installs the ERPNext applet onto the site you've just created. By default Frappe contains some basic apps such as Website, Contacts & Calendar. This process may take a few minutes, depending on your hardware.
Now, update bench before starting the application
bench update
You're ready to go! Start the site by running
bench start
Open your browser and navigate to: http://localhost:8000
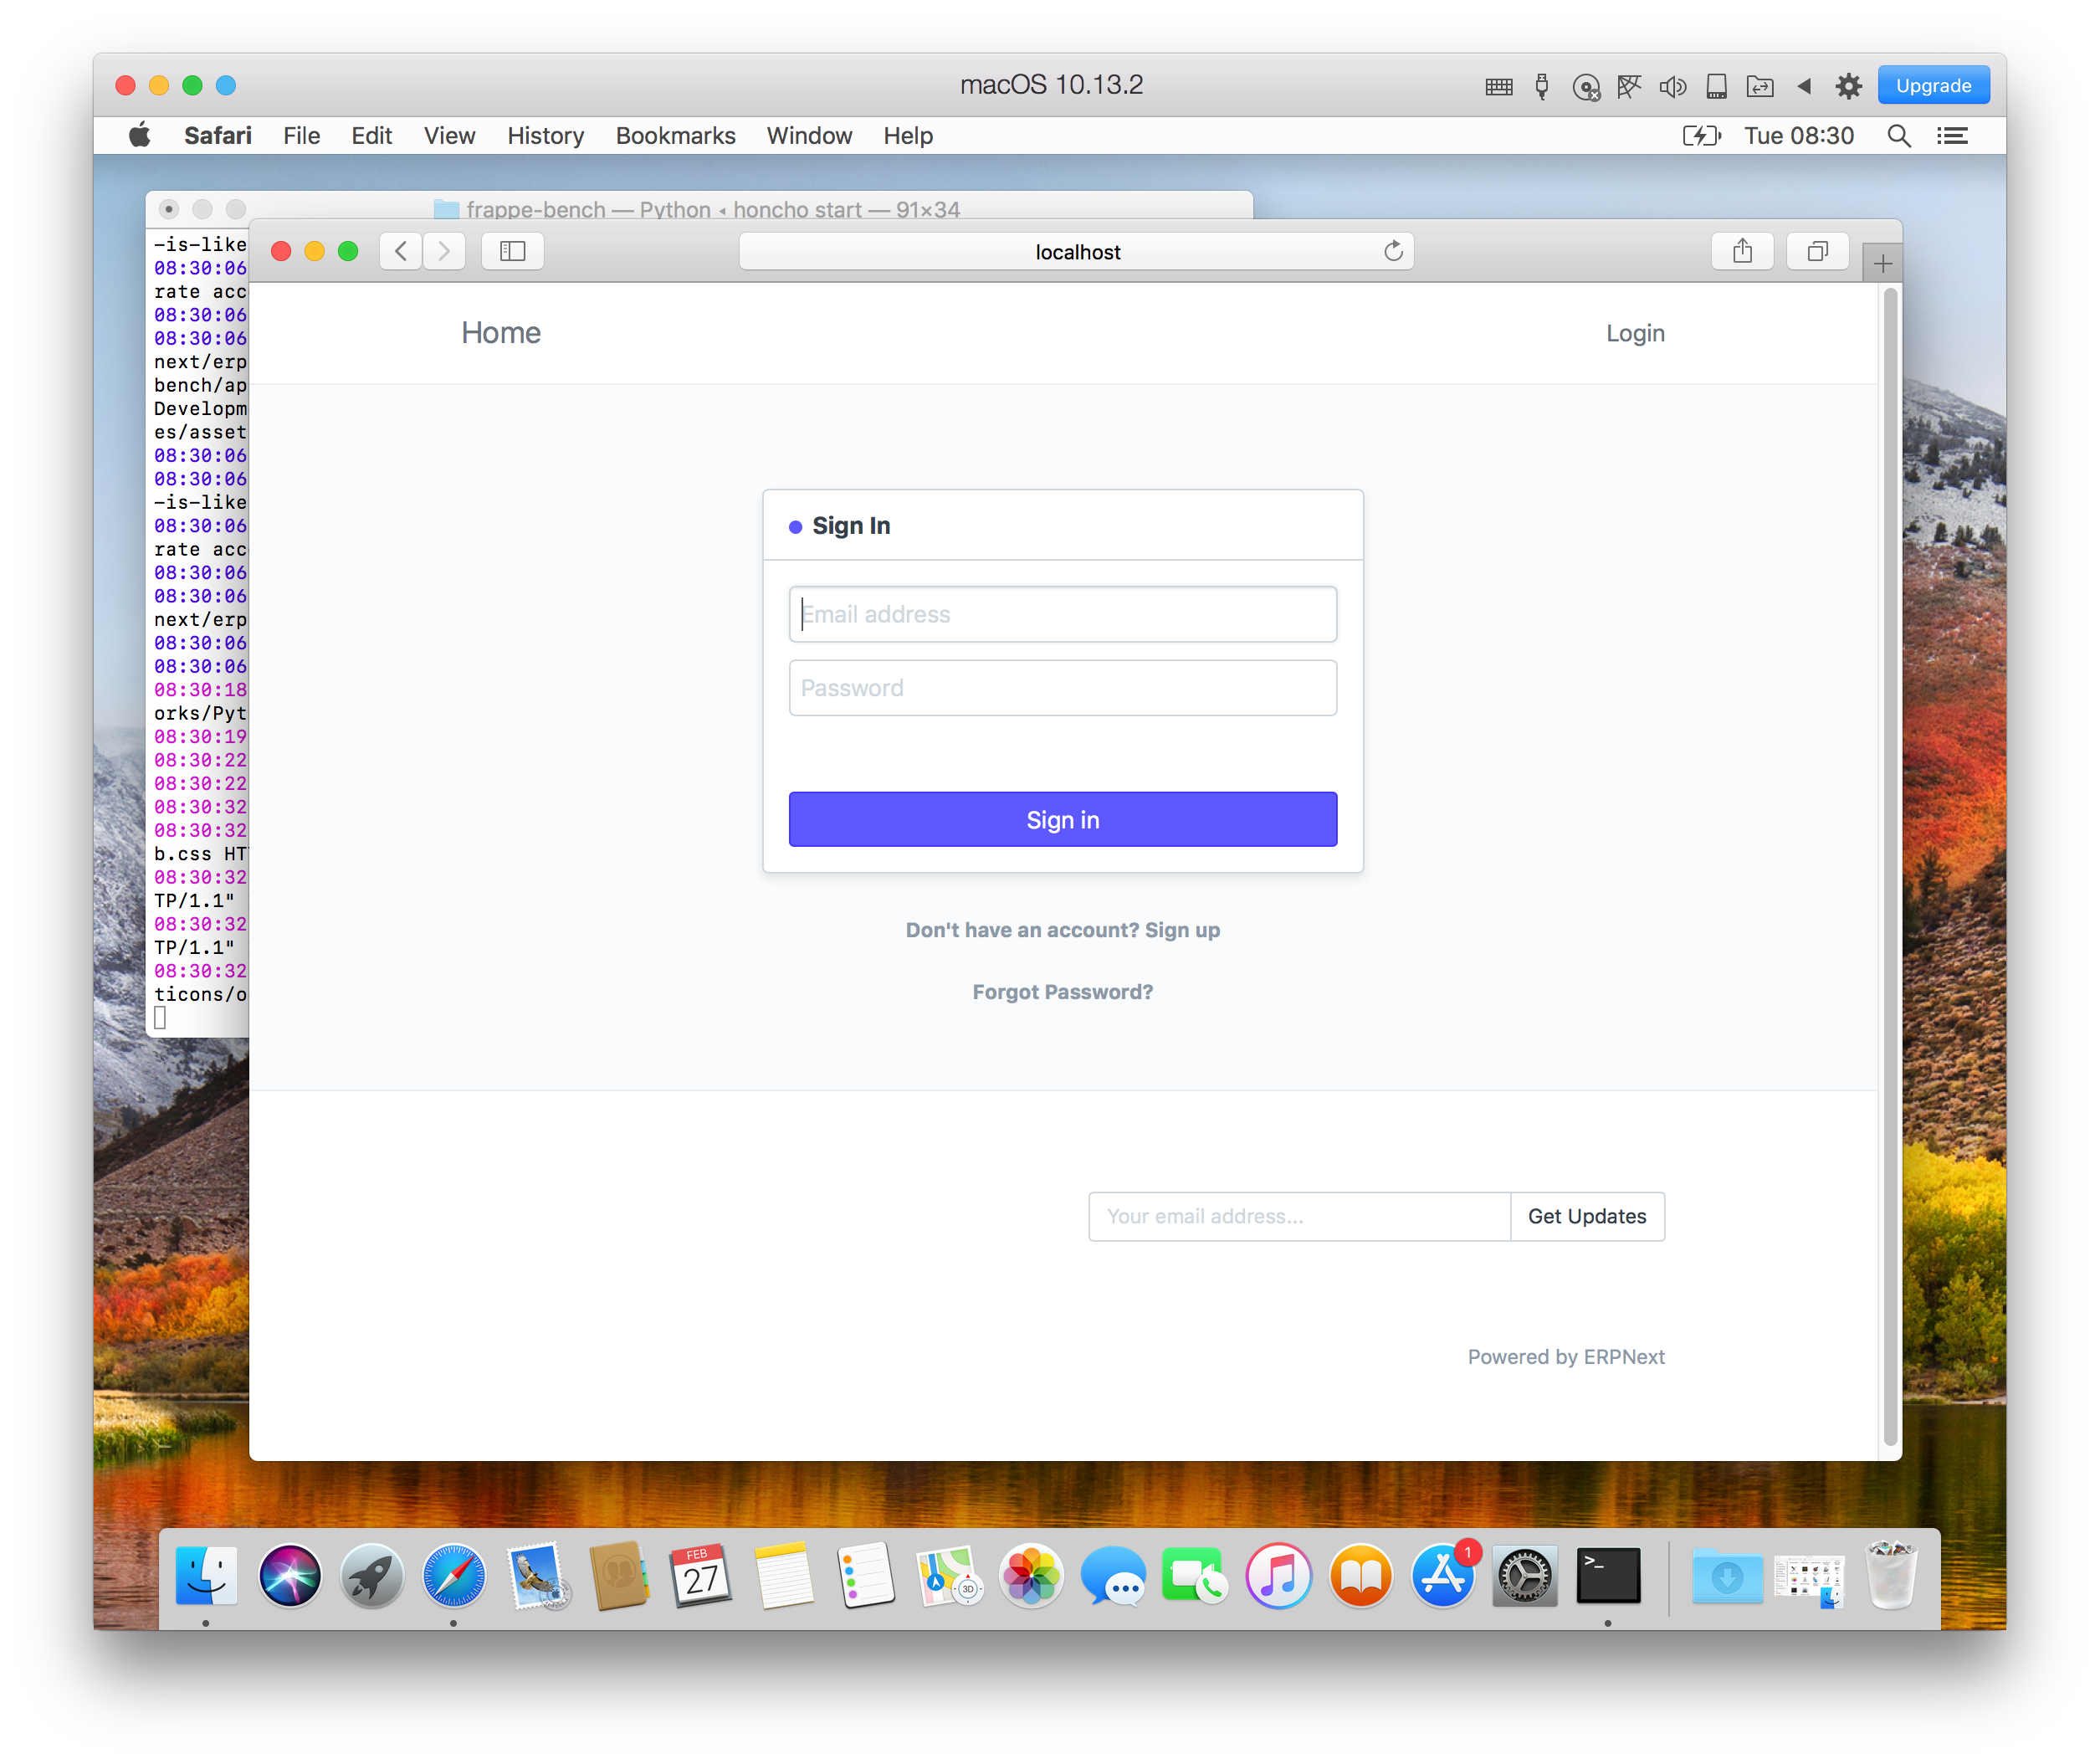
Login using 'Administrator' as the email address and the password you set before. You'll then be guided through the setup process.
Starting ERPNext again
Simply navigate to the following directory and run the Bench Start command:
cd ~/Development/frappe-bench
bench start
Stopping ERPNext
Press CTRL + C inside the terminal to stop the application